7. SR-IOV
7.1. Prerequisites
This guide assumes that you have installed Fuel and performed steps 5.3.1 - 5.3.9 from Installation Guide. To enable SR-IOV you need sriov capable network PCI card. Also, it is important to remember that only compute hosts can be configured with sriov role.
7.2. Features
- You can have multple VLANs inside one physical network
- When using Passthrough (as in sriov scenario), there are no dhcp and metadata provided over openstack. You have to manage that manually or provide additional network port with usual openstack network.
7.3. What is SR-IOV
Quoting Mirantis blog post:
SR-IOV is a PCI Special Interest Group (PCI-SIG) specification for virtualizing network interfaces, representing each physical resource as a configurable entity (called a PF for Physical Function), and creating multiple virtual interfaces (VFs or Virtual Functions) with limited configurability on top of it, recruiting support for doing so from the system BIOS, and conventionally, also from the host OS or hypervisor. Among other benefits, SR-IOV makes it possible to run a very large number of network-traffic-handling VMs per compute without increasing the number of physical NICs/ports and provides means for pushing processing for this down into the hardware layer, off-loading the hypervisor and significantly improving both throughput and deterministic network performance.
7.4. How to check if network interface is sriov capable, and how many VFs are available/enabled
Issue following command on boostraped host:
lspci -s <bus ID> -vvv
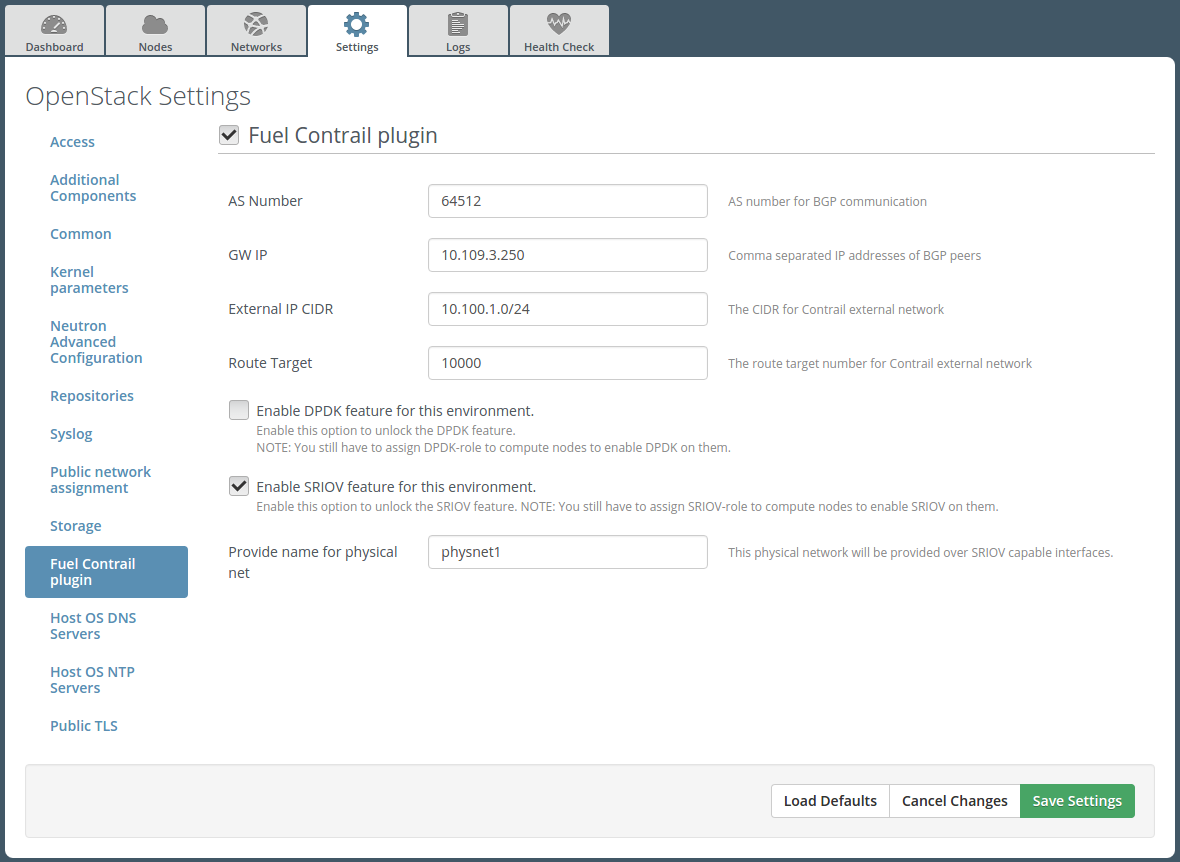
7.5. How to enable SR-IOV in fuel
Enable SR-IOV in plugin settings and configure unique physnet name.
#. Assign SR-IOV role to compute hosts. SR-IOV will be enabled on all SR-IOV capable interfaces, not assigned to Fuel bridges(networks in Fuel UI).
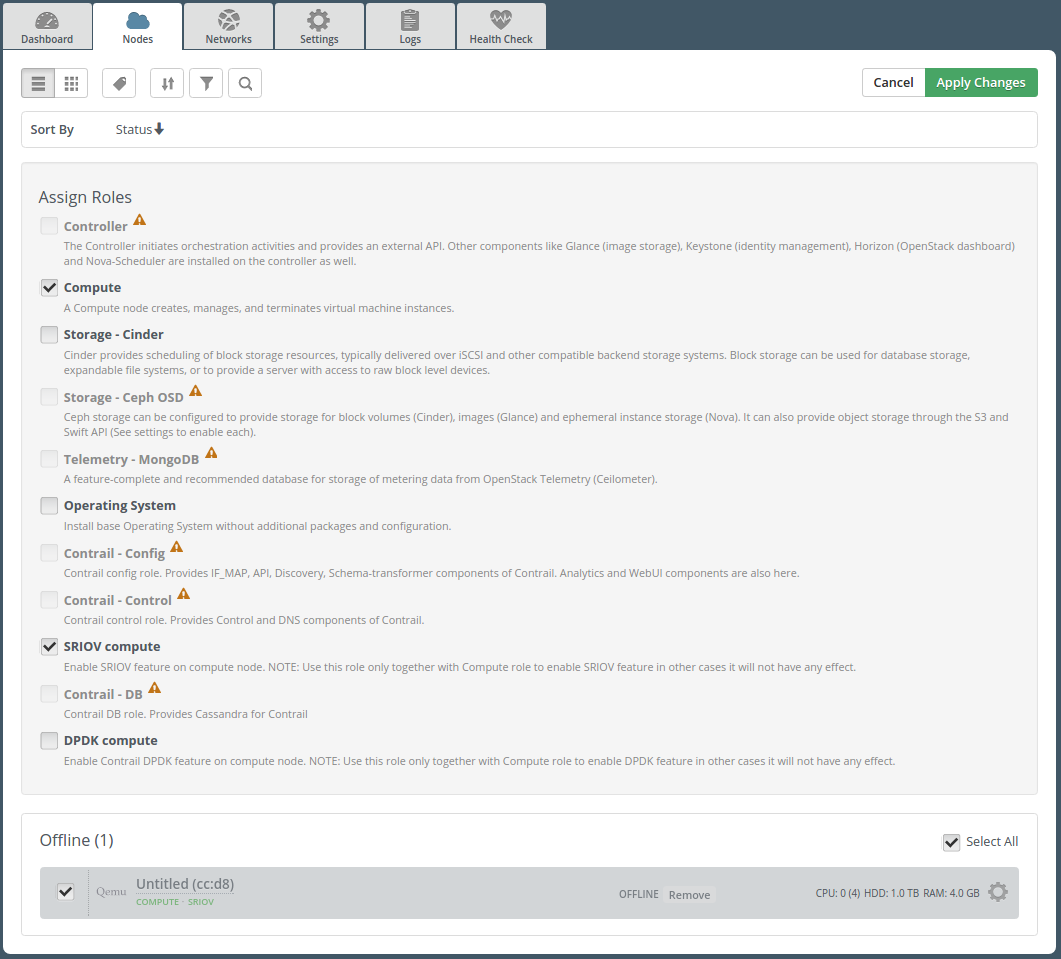
- Perform deploy as in 5.3.10 Installation Guide
7.6. How to create VM with sriov device
Create VN with configured physical network and vlan id:
neutron net-create --provider:physical_network=<physical network from contrail settings tab> \
--provider: segmentation_id=<Vlan_id> <Network_Name>
Create a subnet:
neutron subnet-create <Network_name> <Subnet>
Create a Port:
neutron port-create --fixed-ip subnet_id=<subnet uuid>,ip_address=<IP address from above subnet> \
--name <name of port> <vn uuid> --binding:vnic_type direct
Boot VM with the port:
nova boot --flavor m1.large --image <image name> --nic port-id=<uuid of above port> <vm name>